the last post walked through writing a pi extension end-to-end and shipping its events to axiom. extensions can react. but they can also render. this one looks at pi's tui surface: what built-in components exist, how events and state drive what gets drawn, and how to wire a render loop you control.
what came before: superficial event handling and the extension sdlc. what this is: a closer look at the api a tui-aware extension works with.
What I want to learn
- how pi's tui is organized:
- components
- state
- event handlers
- how events feed back into the interaction
Approach
- read the docs on extending the tui.
- practice:
- identify the built-in components (
setFooter,setStatus, etc.) - render an elapsed session time (tui components + state)
- identify the built-in components (
- pull a non-trivial example apart to learn some patterns.
What I found
Built-in components
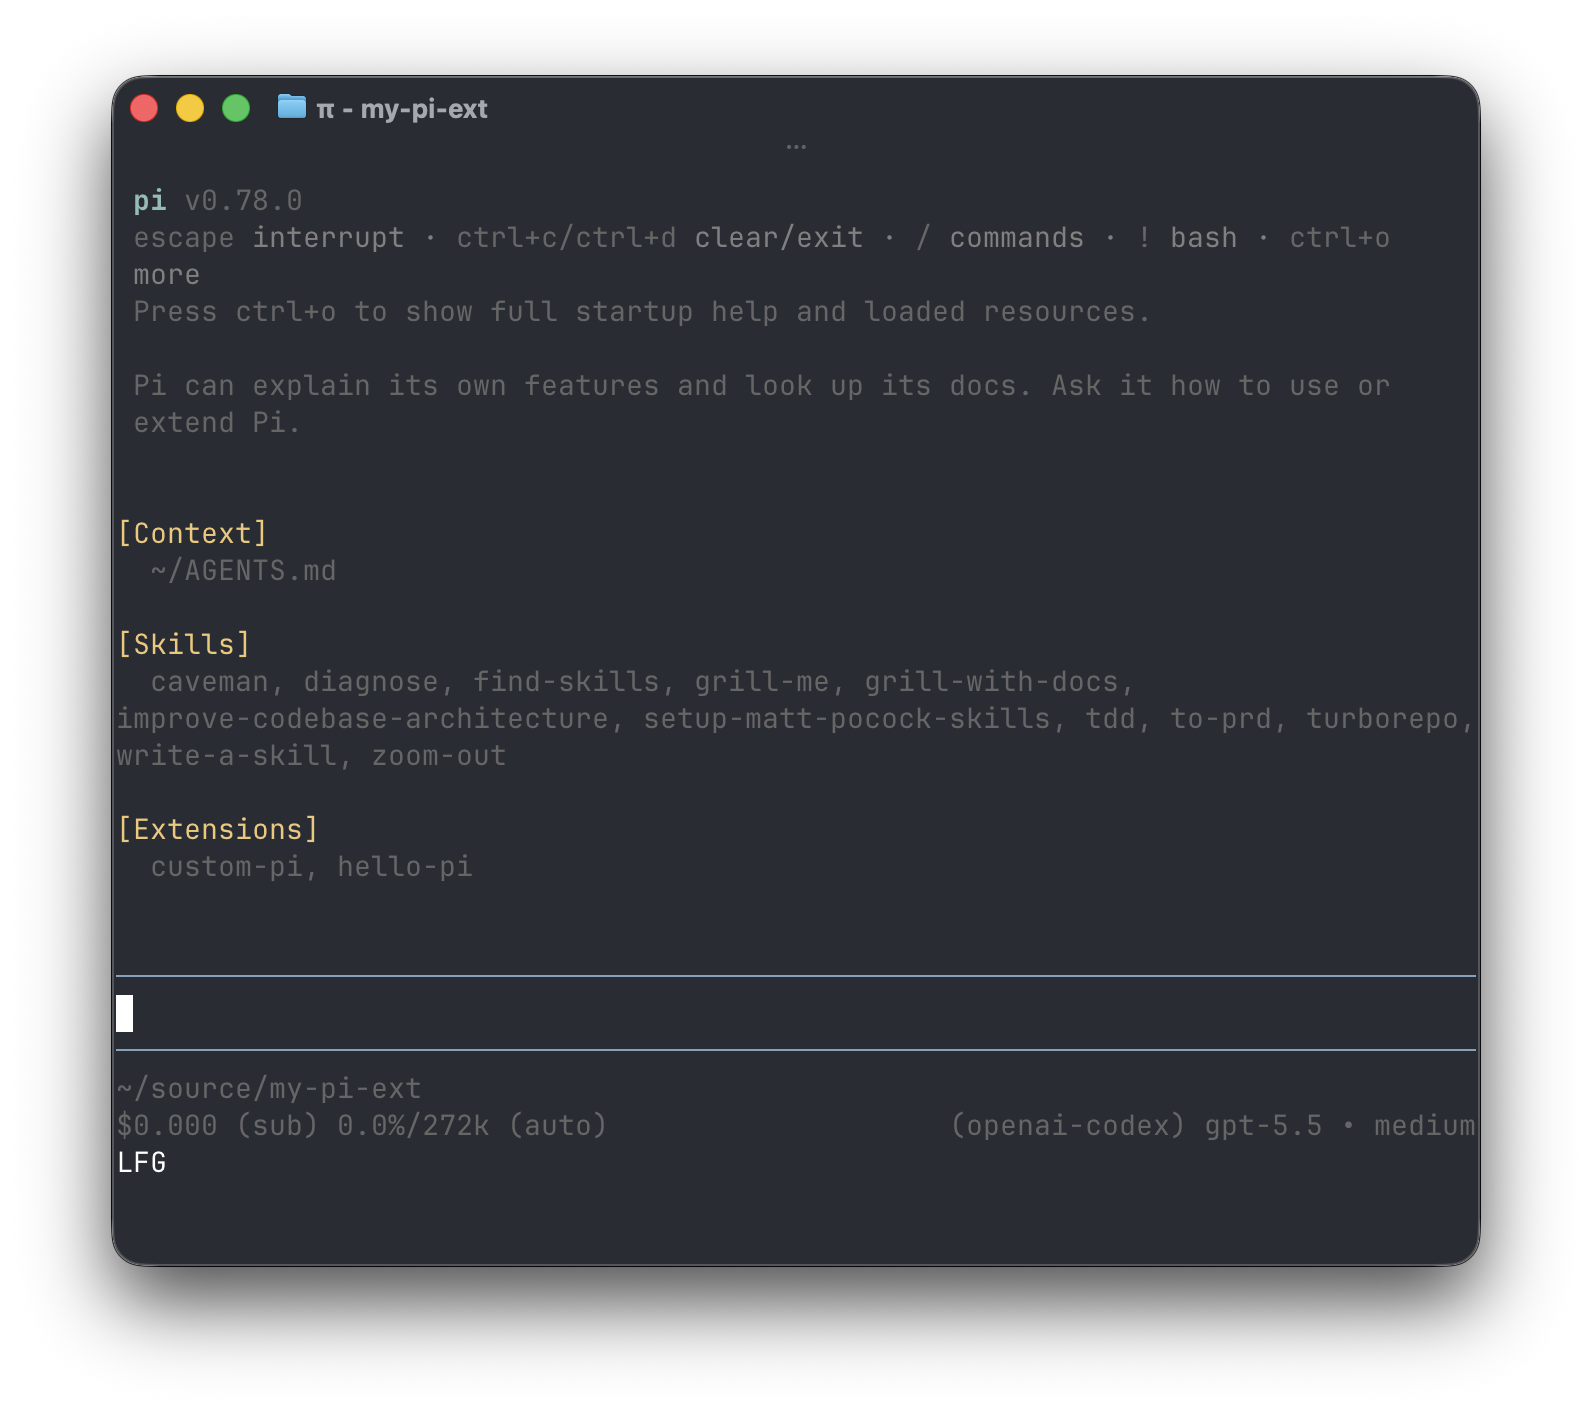
a few obvious surfaces are exposed to render to. ctx.ui.setStatus() and ctx.ui.setFooter() give you persistent areas above and below the input editor (which, the docs eventually clarify, is the message box you type into).
ctx.ui.setStatus();
ctx.ui.setFooter();
then there are the modal-style dialogs that block until the user picks something. they're all async, so the value you await is the selection:
const choice = await ctx.ui.select('Pick one:', ['A', 'B', 'C']);
const ok = await ctx.ui.confirm('Delete?', 'This cannot be undone');
const name = await ctx.ui.input('Name:', 'placeholder');
so it's not "render a dialog component" so much as "ask a question, get the answer back."
custom widgets attach above the editor with setWidget. each widget is an array of lines keyed by a name, cleared by passing undefined:
ctx.ui.setWidget('my-widget', ['Line 1', 'Line 2']);
ctx.ui.setWidget('my-widget', undefined);
other things on the page worth a future poke: addAutocompletionProvider. defer.
one more thing the docs flag: ctx.mode. some apis are noops outside the tui (tui vs -p etc.), so a tui-aware extension should guard against running outside the interactive mode.
simplest end-to-end: hook session_start, set a status.
pi.on('session_start', (_event, ctx) => {
  ctx.ui.setStatus('custom-pi-status', 'LFG');
});
Elapsed time renderer
wanted to render something live, not just on a one-off event. unsure how to organize this, so let's just guess :).
need: render, controller, model/data, adapter to format. roughly:
import type { ExtensionAPI } from '@earendil-works/pi-coding-agent';

const formatElapsedTime = (elapsedTimeMs: number): string => {
  return `Session length: ${Math.floor(elapsedTimeMs / 1_000)}s`;
};

const getElapsedTime = (start: number) => {
  return Date.now() - start;
};

const intervalEffect = (
  startTime: number,
  effect: (startTime: number) => void,
  shutdown: () => void,
) => {
  const interval = setInterval(() => effect(startTime), 1_000);
  return () => {
    clearInterval(interval);
    shutdown();
  };
};

export default function (pi: ExtensionAPI) {
  let shutdown: undefined | (() => void);

  pi.on('session_start', (_event, ctx) => {
    shutdown = intervalEffect(
      Date.now(),
      (startTime) =>
        ctx.ui.setStatus(
          'custom-pi-status',
          formatElapsedTime(getElapsedTime(startTime)),
        ),
      () => ctx.ui.setStatus('custom-pi-status', undefined),
    );
  });

  pi.on('session_shutdown', () => {
    shutdown?.();
  });
}
hey it works.
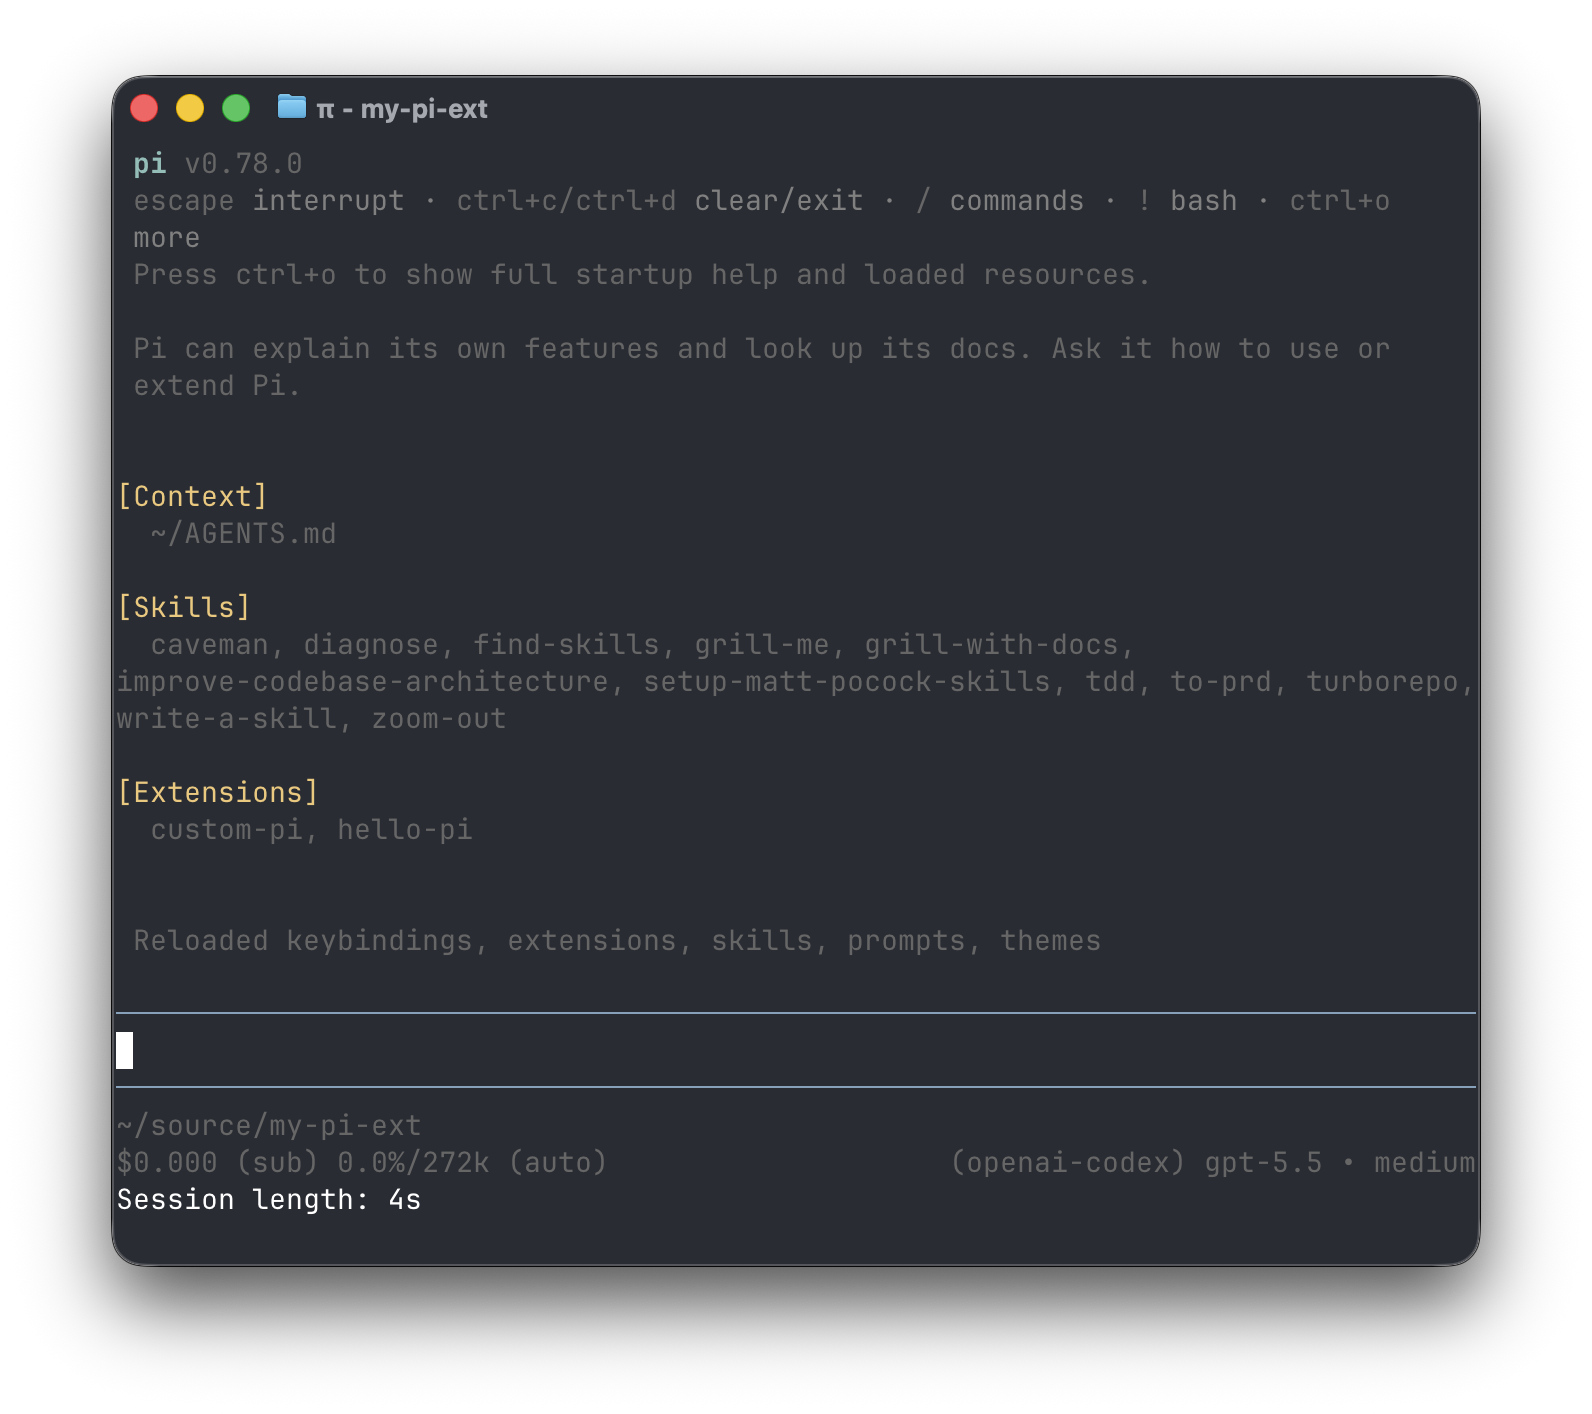
not sophisticated, but it answers the shape of "render in a loop i control." next question: how is this done the right way?
How they do it: the doom-overlay example
the doom-overlay example in the pi repo runs actual doom inside the tui. mining it for patterns.
different entry point than mine: a command.
pi.registerCommand('doom-overlay', {
instead of setting status from an event hook, the command registers a custom ui component via ctx.ui.custom. the component class drives its own lifecycle.
await ctx.ui.custom((tui, _theme, _keybindings, done) => {
  return new DoomOverlayComponent(tui, activeEngine!, () => done(undefined), isResume);
});
the render loop lives on the component itself, ticking the engine and asking the tui to repaint at a fixed cadence.
private startGameLoop(): void {
  this.interval = setInterval(() => {
    try {
      this.engine.tick();
      this.tui.requestRender();
    } catch {
      // WASM error (e.g., exit via DOOM menu) - treat as quit
      this.dispose();
      this.onExit();
    }
  }, 1000 / 35);
}
the component exposes a render method that returns the lines to draw, width-aware:
render(width: number): string[] {
  const ASPECT_RATIO = 3.2;
  const MIN_HEIGHT = 10;
  const height = Math.max(MIN_HEIGHT, Math.floor(width / ASPECT_RATIO));

  const rgba = this.engine.getFrameRGBA();
  const lines = renderHalfBlock(rgba, this.engine.width, this.engine.height, width, height);

  const footer = ' DOOM | Q=Pause | WASD=Move | Shift+WASD=Run | Space=Use | F=Fire | 1-7=Weapons';
  const truncatedFooter = footer.length > width ? footer.slice(0, width) : footer;
  lines.push(`\x1b[2m${truncatedFooter}\x1b[0m`);

  return lines;
}
the pattern: register a custom ui component, run a loop at a target fps, call tui.requestRender() each tick, expose a render(width) that returns the full set of lines.
What's next
helpful to have this api surface mapped now. there'll likely be a future post where live visual indication of something inside a custom extension earns its keep. probably don't need to go deep on building uis on top of pi though.
the next useful corner is the other side of the api: how pi can be used as the engine behind an agentic workflow.